 Basic Word Processing Skills
Basic Word Processing Skills
Basic Word Processing Skills| text alignment | inserting tables | inserting clipart | online help|
Use the “Help” function to guide you through the many features of the Microsoft Word program.
Some useful pages are included in this section. They mainly focus on formatting paragraphs.
Formatting Paragraphs
Text Alignment
Text within a paragraph can be aligned to the left, right, centre or fully justified. This can be done using the formatting toolbar (usually at the top of the screen). First place the cursor within the paragraph and then click with the left mouse button on the appropriate alignment:-
|
Left alignment
–
all text starts on the left hand side of the page. The right hand side
will be of
varying lengths. |
|
Centre alignment – aligns the text all to the centre of the page. The left and right will be uneven |
|
Right alignment
–
aligns the text all to the right side of the page. The left will be
uneven.
|
|
Fully justified
–
aligns the text down both sides of the page. The last line is left
aligned. |
Return to top
Click on the following to find out more about:
Return to top
Inserting Tables
Go to Table => Insert => Table
Type in Number of rows and number of columns
Click OK - the table will fit the page
This sample has 2 rows and 5 columns
The width of the columns can be adjusted by directing the mouse onto the line you want to move, holding the mouse down and moving the mouse to the left or right.
Data is entered by typing in each cell. Press the Tab key to move to next cell.
To add rows at the end of a table, press the Tab key from the last cell in the table OR go to Table => Insert Rows.
To add columns, first select a column, then go to Table => Insert Columns. To select a column, take the mouse to the top of the column required until it changes into a downwards arrow, then click with left mouse.
Return to top
Inserting Clipart
There is a wide range of clipart available in categories on the Microsoft Office (Word) disk. More clipart can be accessed on the internet by going to Insert => Clipart => Clipart Online
The Online Microsoft Clipart is free and is organised into a multitude of categories. Type in the key word in the Search box. You are then able to select the clipart you like and download it onto your computer. They take very little space!
To insert your clipart into your Word document:
left click the picture - the image is inserted into your document OR
right click the image and choose from other options eg. copy, insert
you can resize your picture by dragging the black boxes on the edge of the picture
to move your picture freely, right click, go to Show Picture Toolbar, click on box with picture of dog, click Behind Text. You will now be able to freely move your picture around the screen!
It is up to you to explore the many other functions of this useful toolbar.
Return to top
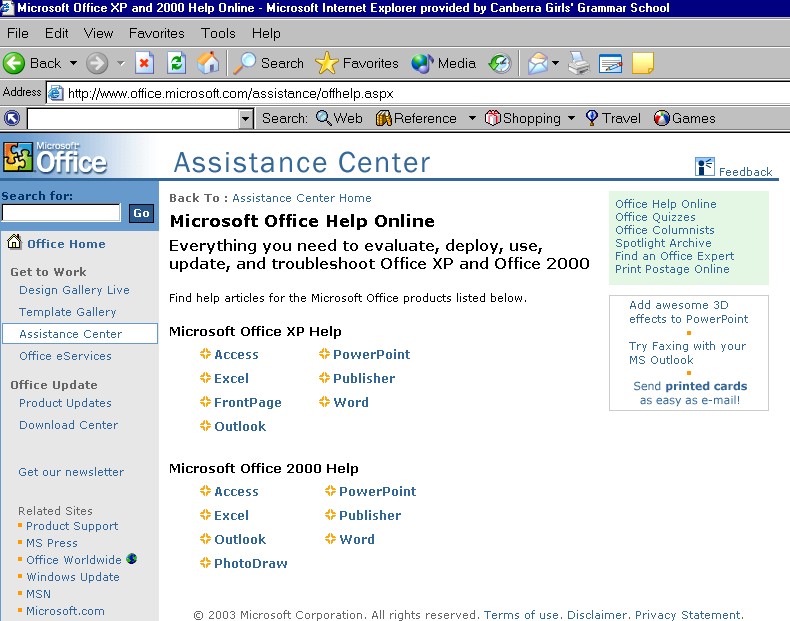
Online Help
Microsoft provides an on-line support service to its customers.
To get assistance click Help => Office on the Web => Word
The Assistance Centre Home page looks like this:
if you go to the website
www.officemicrosoft.com/assistance/offhelp.aspx you will be able to follow the links to the help articles listed.
Return to top