Task 4
Task 4
Instructions: The following task is to be submitted to your teacher in one of the two ways described below.
|
|
|
|
To Begin:
To make this task easier to follow it is suggested that you print off a copy - this will save you moving between the task and the word documents. Of course you can move between the documents - using the ALT + Tab key is a useful keyboard shortcut (hold down ALT + press Tab to view each of the open files / windows)
create a new folder in your My Documents window - call the folder Business Services
Save all work
File
Save As
Headers
and Footers
You are starting with headers and footers so that all your documents for Business Services will have them.
Definitions:
- Headers - contain a line of text that goes at the top of each page eg. chapter name
- Footers - contain information that goes at the bottom of the page eg. page number
Today you will be creating your own headed paper suitable for business letters (ie a letterhead)
To do this you will also be:-
- changing fonts and font size
- centring information
- inserting clipart - moving, resizing
- resizing text
- using WordArt
- selecting colour
Step 1
- Open Microsoft Word
- File => Save As - name the document bswp_1
- File => View => Header and Footer
- A "floating" toolbar will appear
with an empty space for your header.

Step 2 - Your header
In the dotted space type in:
Line 1: your full name
- Line 2: your address
- Line 3: your telephone number
- Line 4: your email address (if available)
Step 3
You will notice that the header is aligned to the left. You will need to centre all the lines
Highlight the 4 lines
Click on the "centre" alignment icon
on toolbar
Step 4
The header can be improved further. Both the font and the size of the print can be changed.
Highlight lines 1 - 4
Click on drop down arrow on the font selector icon
on the toolbar
Select a font that you like - your header should now appear in that new font
Highlight Line 1
Click on drop down arrow on the font size icon
on the toolbar
Select a suitable font size for your name
 |
Congratulations!
|
Step 5
The footer, at the bottom of the page, can be reached by either scrolling down the page or by selecting the
icon on the Header and Footer toolbar
Before typing:
centre your typing
select a suitable font
change the font size
Type "Business Services 240 Hour Course"
Congratulations!
You now have a basic footer.
Step 6
This header and footer can be enhanced to be:
more informative
more decorative
Using the header / footer toolbar

select the following icons and place them in line 5 of the header:
insert page number on line 5
insert date on line 5 (4 spaces after page number)
insert time on line 5 (4 spaces after page number)
highlight line 5 - centre align
Step 7 - Let's jazz things up a bit
highlight your header
right click the mouse
select Font => Font colour
Choose a colour
click OK
Step 8 - Time for some Borders or Shading
highlight your header
go to Format => Borders and Shading
There are many different ways of formatting your header. Take some time to find out the different formats - eg shading.
save the bswp_1 document
print a hard copy
send this hard copy to your teacher
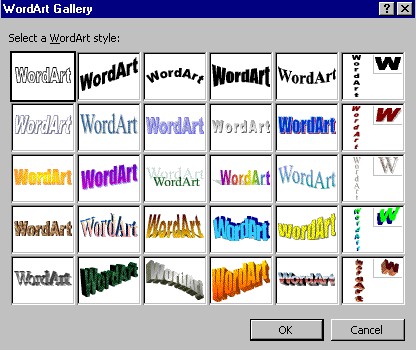
Step 9 - Designing an interesting Letterhead using WordArt
You can be really creative!!
The WordArt
icon is found on the Drawing toolbar usually at the bottom of the Word screen - if the Drawing toolbar is not visible go to View => Toolbar => Drawing toolbar
- Open a new Microsoft Word document
- File => Save As - name the document bswp_2
- File => View => Header and Footer
- Click in the header area
- Click on the WordArt
- Choose a style you like
- Click OK
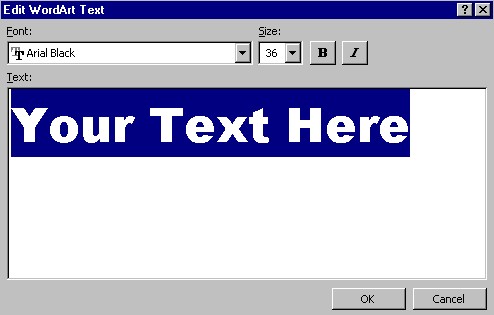
- choose a suitable font, size and format

type in your own text - ? your name
- Add adjustments - eg centre the header
- Investigate and experiment with colour and texture in WordArt
save the bswp_2 document
print a hard copy
send this hard copy to your teacher
Step 10 - Adding Pictures to the Letterhead
- Open a new Microsoft Word document
- File => Save As - name the document bswp_3
- File => View => Header and Footer
- Click in the header area
Go to Insert => Picture => Clipart
Select a suitable image
Right click - insert
resize the image by:
selecting the image
placing the cursor on one of the corner handles that border the image, holding the left mouse button down and moving the mouse inwards to make the image smaller or outwards to make the image larger.
move the picture by:
placing the cursor on the image in the frame, holding the left mouse button down and dragging the image to a new location
the Picture Toolbar
gives more options for images - you should investigate these features - eg text over image; text surrounding image.
save the bswp_3 document
print a hard copy
send this hard copy to your teacher
Congratulations! - You have finished
You should have completed 3 documents that you can send to your teacher:
bswp_1 - a document with your personal header and footer
bswp_2 - a document using WordArt in the header
bswp_3 - a document with and image inserted in the header